



5 min read
A spa facial in Victoria Island can cost as much as a week of groceries, and you still have to sit in traffic to get there. A facial at home gives you most of the same benefits for a fraction of the price, as long as you are gentle and patient with your skin.
Think of it as a slow, careful version of your normal routine, done once every two to four weeks. Put your phone on silence, play some music and give yourself about forty-five minutes. Sunday evenings work well, when there is nowhere to rush off to.
What you need
You do not need fancy gadgets. Most of these items are already in your house or at the nearest pharmacy:
- A headband or scarf to keep hair off your face
- Your usual gentle cleanser
- A mild exfoliant, either a fine scrub or a gentle acid product
- A clay or hydrating face mask suited to your skin type
- Two or three clean face towels and a bowl of warm water
- Alcohol-free toner (optional)
- A moisturiser, plus sunscreen for the next morning
Before you use any new product, do a patch test on your inner arm or behind your ear and wait a day. The NHS explains that contact dermatitis can be triggered by ingredients in cosmetics, including fragrances. Better to find out on a small patch than across your whole face.
How to do a facial at home, step by step
Step 1: Cleanse properly
Tie your hair back and wash your hands. If you are wearing makeup, remove it first, then wash your face with your cleanser and lukewarm water. Massage for about a minute using your fingertips, paying attention to the sides of your nose and along the hairline. Rinse and pat dry.
Step 2: Soften with warmth
Soak a clean towel in warm, not hot, water. Wring it out and lay it over your face for a minute or two, leaving your nose free. Repeat two or three times. This softens the skin and makes it feel relaxed.
Skip the old trick of leaning over a pot of boiling water with a towel over your head. Steam that hot can burn, and it can worsen redness and conditions like rosacea. Warm towels do the job safely.
Step 3: Exfoliate gently
Apply your exfoliant and work it in with light circular motions for about thirty seconds. Do not press hard. Darker skin can develop dark marks from irritation, so the goal is smooth, not raw. If you have active acne or broken skin, skip the scrub entirely and use a gentle acid product instead, or simply move to the mask.
Step 4: Leave your pores alone
Here is where most home facials go wrong. Squeezing pimples and blackheads with your fingers feels satisfying, but it pushes bacteria deeper and often leaves a scar or dark spot that lasts months. The American Academy of Dermatology is clear on why you should not pop pimples, and recommends leaving extractions to a dermatologist.
If blackheads bother you, a product with salicylic acid used regularly will clear them more safely than any amount of squeezing.
Step 5: Apply a mask
Choose a mask for your skin type. Clay masks suit oily skin and help absorb shine. Hydrating masks with ingredients like glycerin or aloe suit dry or sensitive skin. If you have combination skin, you can use clay on your T-zone and a hydrating mask on your cheeks.
Leave it on for the time stated on the pack, usually ten to fifteen minutes. Do not wait until a clay mask cracks and pulls your skin tight. Rinse with lukewarm water while it is still slightly damp.
Step 6: Tone and moisturise
If you like toner, sweep an alcohol-free one over your face with a cotton pad. Then apply your moisturiser while your skin is still a little damp. This seals in hydration and leaves your face soft. Finish with lip balm, and if it is morning, sunscreen.
What to keep out of your kitchen facial
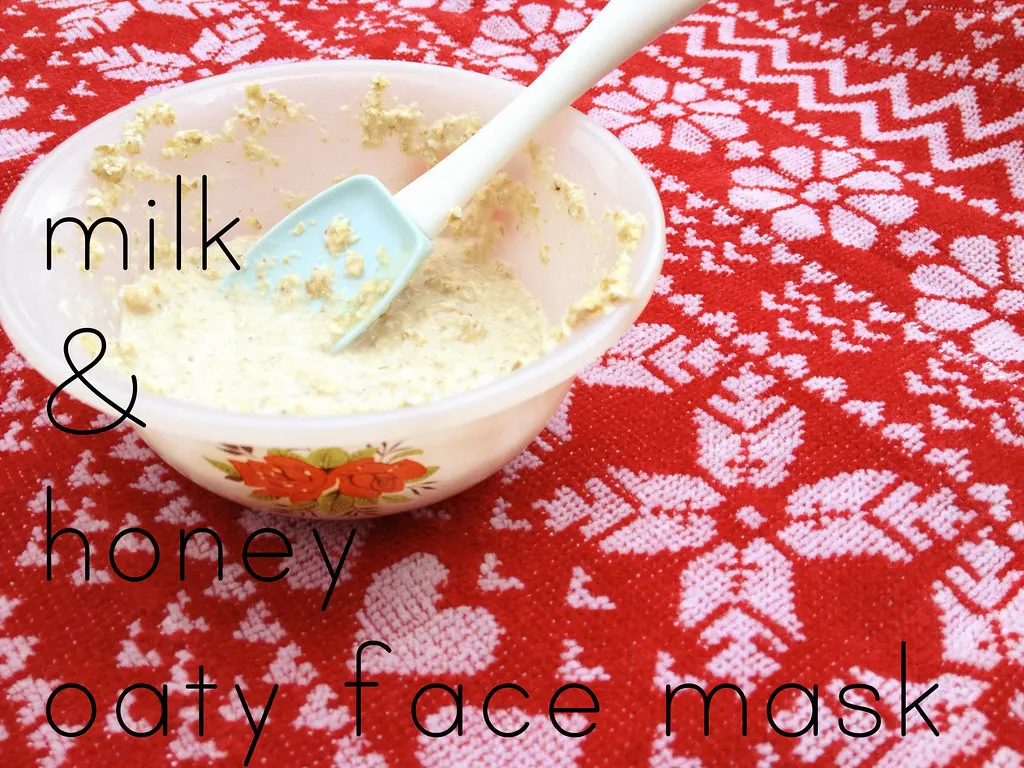
Social media is full of DIY recipes, and some are harmless. Plain honey or yoghurt as a short mask is generally fine for most people. Others can cause real damage.
Avoid lemon juice, lime, raw garlic, toothpaste, baking soda and undiluted tea tree or other concentrated plant oils. They are either too acidic, too alkaline or too irritating for facial skin. Never use anything sold in an unlabelled container that promises to “tone” or “lighten” your face. Those products often contain bleaching agents.
How often to do a facial at home
Once every two to four weeks is plenty. Exfoliating too often weakens your skin’s protective barrier, leading to stinging, dryness and breakouts. Between facials, stick to your daily cleanse, moisturise and sunscreen routine.
During harmattan, your skin will need extra moisture, so swap a clay mask for a hydrating one. Our guide to harmattan season has more tips for the dry months.
When to see a professional
Home care is lovely for maintenance, but it has limits. See a dermatologist or doctor if you have painful cysts, acne that scars, sudden rashes or dark patches that keep spreading. A pharmacist can also recommend suitable products if you are not sure where to start.
One last tip: change your pillowcase the night of your facial. All that care deserves a clean place to rest.
Get new stories by email
Practical guides on money, work, tech and culture. No spam, and you can leave at any time.