
6 min readUpdated
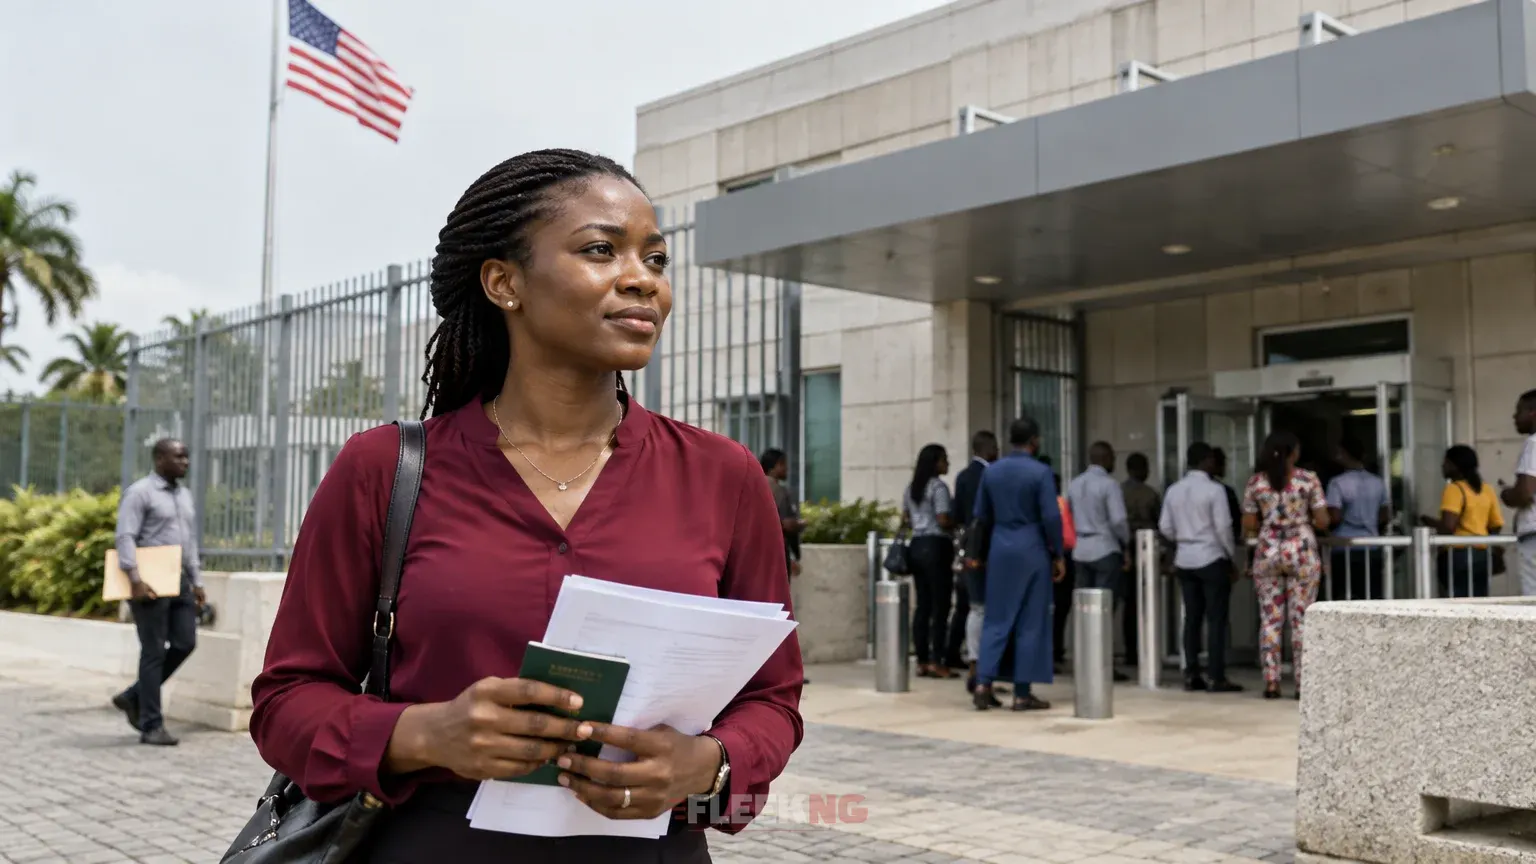
Planning a holiday, family visit or business meeting in the United States with a Nigerian passport? You may need a B-1/B-2 visitor visa. You can apply for a US visa from Nigeria yourself, without paying an agent. Before you apply, check whether current restrictions affect you. This guide explains the process and includes notes for students.
This guide has not been verified for October 2026. Rules and fees can change, so check the latest official notices before you apply or pay.
Check the current rules for a US visa from Nigeria before you pay
Visa fees are not refundable, even if you are refused. Read the latest notices on ng.usembassy.gov before you apply. Check these issues in particular:
- A partial suspension. From 1 January 2026, Presidential Proclamation 10998 partially suspended the issuance of B-1/B-2 visitor visas and F, M and J student and exchange visas to Nigerian nationals, subject to exceptions. The proclamation did not revoke visas issued before that date. Check the latest official notices to see whether the restrictions still apply to you.
- Shorter visas. In July 2025, the US introduced a policy under which most nonimmigrant visas issued to Nigerians were single entry and valid for three months. Check the current reciprocity schedule before applying, as the policy may have changed. Visa validity is the window in which you may seek entry, not the length of your permitted stay. A US border officer determines how long you may stay.
- Visa bonds. Nigeria has appeared on the State Department’s visa bond list for B-1/B-2 applicants. Check the current rules before applying. If an officer requires a bond, follow the official payment instructions. Do not pay a bond through an agent or into a personal account.
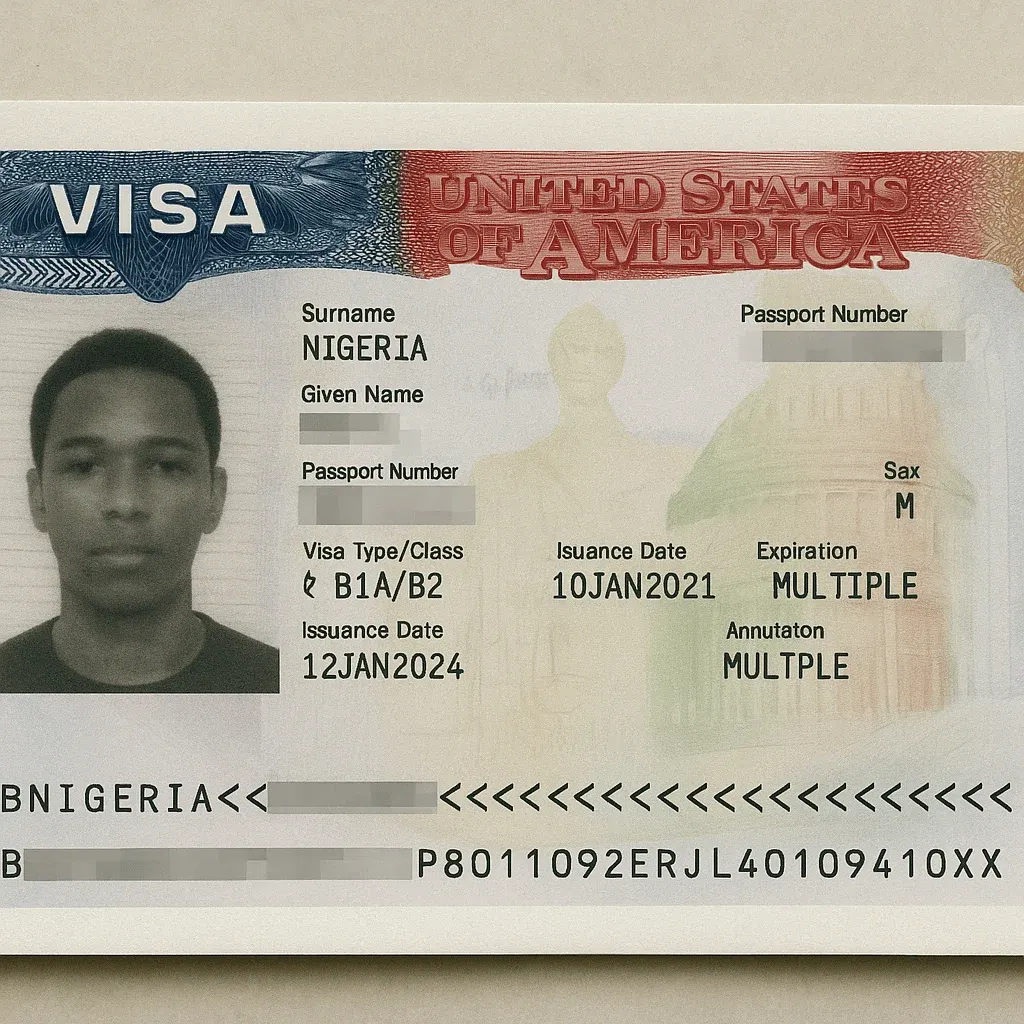
The Nigeria reciprocity schedule on travel.state.gov shows the current validity and entries for each visa type.
Step 1: Choose the right visa
B-1 covers business, such as meetings and conferences. B-2 covers tourism, family visits and medical treatment. The two are often issued together.
Students on academic courses generally need an F-1 visa. You need admission and a Form I-20 from a US school approved to enrol international students. You must also pay the SEVIS I-901 fee before your visa interview. Other types of study or exchange may require an M or J visa. Moving to the US permanently uses a separate immigrant visa process.
Step 2: Complete the DS-160 form
The DS-160 is the online application for visitor, student and other nonimmigrant visas. Fill it in at ceac.state.gov, the State Department’s official site. It asks about your travel plans, work, family and the social media accounts you have used in the last five years.
- Enter your details exactly as they appear in your passport.
- Check the passport validity requirements for your nationality and visa category. The general rule is at least six months beyond your planned stay, though some countries are exempt.
- Note your application ID and save as you go.
- Print the confirmation page with the barcode. A submitted form cannot be edited.
Answer truthfully and double-check your details. Even if an agent fills in the form, you are responsible for every answer. A false statement can make you permanently ineligible.
Step 3: Pay the fee and book your interview
For appointment and payment instructions, follow the link from ng.usembassy.gov to the official appointment site, usvisaappt.com. Check that the embassy still directs applicants there before entering your details or paying.
- Create an account and choose your visa type.
- Pay the application fee. Check the current amount and payment methods on the official appointment site before paying.
- Book your interview with your passport number, DS-160 barcode number and payment details.
Check the embassy’s current instructions for where your visa category is processed before booking an appointment.
Most applicants need an in-person interview, though some may qualify for a waiver. Check the current eligibility rules on the embassy site.
Step 4: Gather your documents
- Essentials: your passport, any old passports with US visas, the DS-160 confirmation page and your appointment confirmation.
- Work and income: an employment letter, payslips or business registration documents, and bank statements.
- Your trip: an invitation letter, if you have one.
- Students: your I-20, SEVIS fee receipt and proof of how your studies will be paid for.
Bring documents relevant to your application, even though the officer may not ask to see all of them. Be ready to explain your finances and travel plans honestly. Our guide on budgeting on a Nigerian salary can help you save towards the trip.
Step 5: Attend the interview
Arrive on time, and check the embassy’s list of items you cannot bring in. Expect questions about why you are travelling, how long you will stay, who is paying and what you do in Nigeria. Answer honestly and briefly, and hand over documents when asked. Student and exchange applicants should also check the latest official instructions on social media review.
If your visa is approved, the consulate will give you instructions on the return of your passport. Some applications may need further processing.
If you are refused under 214(b)
A refusal under section 214(b) of the US Immigration and Nationality Act means the officer was not convinced you qualify for the nonimmigrant visa. This can include not showing strong enough ties, such as a job, business or family, to demonstrate that you intend to leave the US after your visit.
It is not a permanent ban, and it cannot be appealed. You can reapply with a new DS-160 and fee, ideally once your circumstances have changed. If your history is complicated, for example an earlier overstay, speak to a qualified US immigration lawyer first.
Avoid fake agents and start on the official sites
Be careful with anyone promising a shortcut. No agent can guarantee a visa, buy you an approval or reliably jump the appointment queue. The decision belongs to the consular officer. Be wary of anyone asking you to pay fees into a personal account or offering “guaranteed” slots.
The same advice that helps you avoid fake alerts and payment scams applies here: check with the official source, not just the person asking for money. Before you pay any fee, read the latest notices on ng.usembassy.gov and decide whether to apply now.
Get new stories by email
Practical guides on money, work, tech and culture. No spam, and you can leave at any time.

